Braising is one of the oldest known cooking methods, and one sees plenty of braised dishes on menus about town. Yet few people seem to know exactly what braising is, and fewer still do it at home. If you’re in this category, you’re missing out on flavor as well as a way to make good, rich-tasting dishes for very little money.
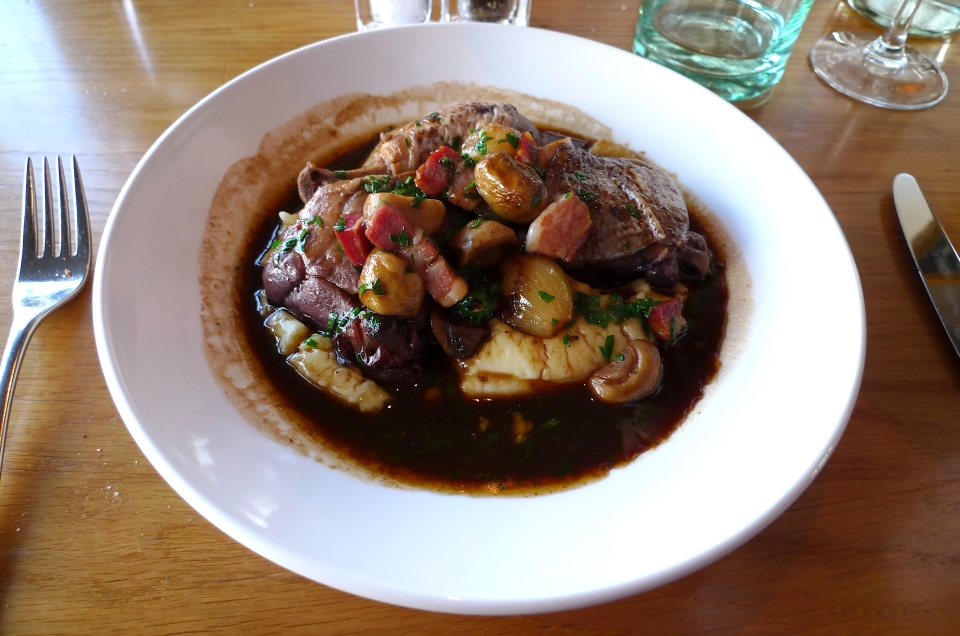
Braising, like stewing, is a way of cooking meat in liquid long enough to tenderize tougher cuts of beef and make them moister. The chief difference braising and stewing is that, while stewing uses meat cut into small pieces, braising is designed for large pieces, and does not submerge the meat entirely in liquid. The liquid in a braised dish has been cooked down to a sauce, rather than the soup-like liquid of a stew. Pot roast and coq au vin are among the best-known example of classic braised dishes, but there are many other excellent dishes that involve braising beef, pork, chicken, lamb, fish and even vegetables.
Braising began as a way to make tough, cheap cuts of meat palatable and succulent. The long simmering of braising breaks down the tough, connective tissues, while the moisture that is absorbed into the meat makes it tender. Braising also works with tough, fibrous vegetables like artichokes, winter squash, and carrots. Moreover, braising adds a unique flavor option to a cook’s repertoire. Because the item being braised is not fully submerged in liquid, it tends to taste more like an intensified version of itself, rather than the milder, less vivid flavor of stewed items. Far from abandoning braising with the availability of tenderer and more expensive cuts of meat, chefs still make traditional braised dishes because these so-called “poor man’s” cuts contain amazing amounts of flavor. In recent years, there’s been a trend by professional chefs to use braising techniques to create new dishes.
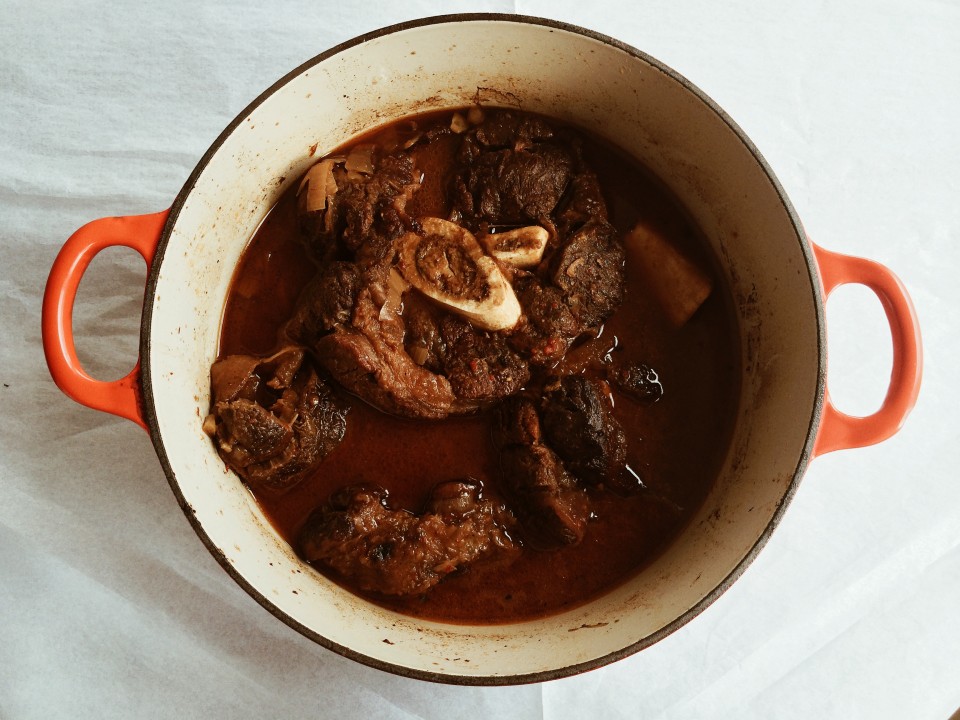
Photo Credit: Cooking With Bells On
Braising is not difficult and can be broken down into a few basic steps.
Step One: Choose the Meat
For a good braise, you want to choose meat on the bone whenever possible, as bones help hold the meat together but add taste and richness to the finished dish. As pointed out before, the best choices for braising are tougher cuts with good flavor, such as beef brisket, short ribs, shanks, or chuck roast; oxtail, pork shoulder, lamb shanks or shoulder, and skin-on chicken or turkey thighs.
Step Two: Sear
Add a bit of oil or lard to a heavy, deep, lidded pot that can go into the oven. Blot the meat dry and sear in over medium-high heat. Don’t crowd too much meat into the pot, as crowding will steam the meat rather than searing it, so brown in batches if necessary. You aren’t trying to cook the meat here, but want to get some good caramelization going, which adds delicious taste. Remove the seared meat and set aside
Step Three: Add the Pot Vegetables
Now you’re going to brown the vegetables just as you did the meat. If there’s not enough oil in the pot, add a bit more. You can choose any vegetables you like, but avoid small and delicate items – green peas or cooked beans, for example – that will turn to mush with simmering. A standard mirepoix (celery, carrots, and onions) and some garlic will work with almost any meat, but don’t be afraid to try vegetables like fennel, celery root, turnips, and cabbage. As with the meat, don’t crowd the vegetables while browning – you want them to caramelize as well, so work in small batches as needed, then remove and set aside when finished.
Step Four: Add the Braising Liquid and Seasonings
Now, with the browned meat and vegetables set aside, add your braising liquid to the pot. The liquid can be anything that complements the meat – water, wine, broth, cider, etc. Don’t add too much liquid – remember, you don’t want to end up submerging the meat and vegetables. Now is the time to add seasonings like salt, pepper, and herbs such as thyme, tarragon, rosemary, bay leaf and even cilantro. As you stir the liquid, be sure to scrape free any bits stuck to the bottom of the pan, so they can meld into the finished sauce.
Step Five: Braise
Your work is essentially done. All you have to do now is return the vegetables, meat, and any accumulated juices to the pot. Bring the pot to a simmer, then put a lid on, and place in a slow (300 – 325 degree) oven until the meat is cooked and tender.
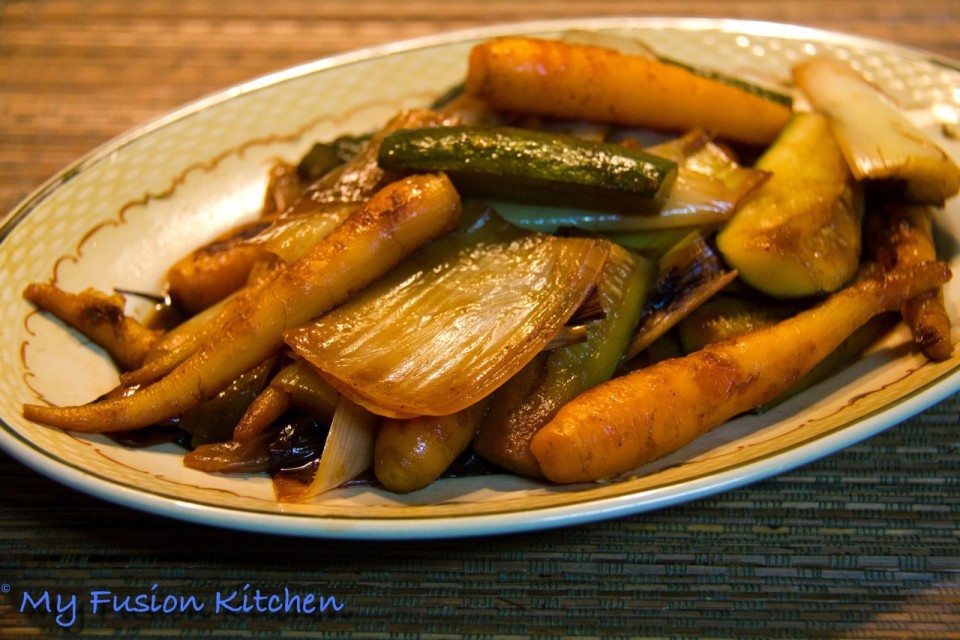
Photo Credit: My Fusion Kitchen
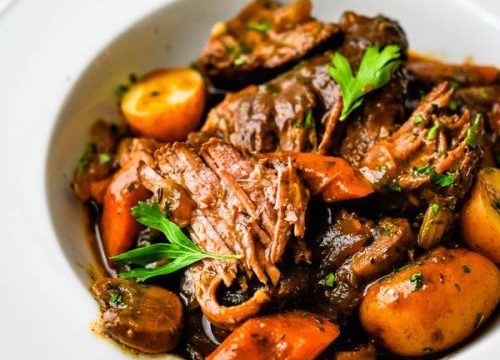
Keep in mind that different meats in different sizes will require different cooking times, and individual steps may be altered as well. Until you get the hang of braising, it’s a good idea to follow a recipe. Try a delicious classic like braised vegetables, coq au vin, braised short ribs in red wine, or go with a contemporary innovations like braised tuna in ginger plum sauce, and you’ll soon add braising to your repertoire of techniques.
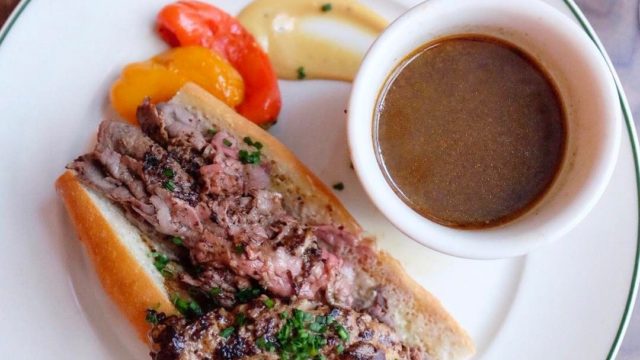
Featured Photo Credit: LindySez
I’m a full-time writer and food enthusiast. I love writing about food’s role in history and culture, and have found that cooking and fooling around in the kitchen is a perfect break from my work.
Give me a blizzardy day when I can make bread and soup and watch the snow pile up and I’m happy.


Hi again…we are really close. Could you please spell the name as LindySez … thanks
Sorry, Lindy — I misread your clever logo, and the photo credit should
have been at the top. And for everyone else who wants to make the most
sumptuous beer-braised beef in modern memory, don’t miss stopping by
LindySez for this and other delicious, must-try recipes!
— Susan
No problem Susan – just gotta keep it real, ya know what I mean? Cheers
Sorry, Lindy — I misread your clever logo, and the photo credit should have been at the top. And for everyone else who wants to make the most sumptuous beer-braised beef in modern memory, don’t miss stopping by LindySez for this and other delicious, must-try recipes!
— Susan