Contents
Is making pie crust the last frontier for you? It doesn’t need to be. The truth is, anyone can bake a beautiful pie crust. All it takes is a plan, some know-how, and a little practice.
Tender, flaky pie crust results when small bits of solid shortening melt during baking, leaving layers of tiny air pockets. To achieve this, the shortening must remain cold throughout mixing and rolling out, and the dough must be handled as little as possible. If a crust cracks or doesn’t quite fit in the pan correctly, it is always better to patch it than to re-roll it.
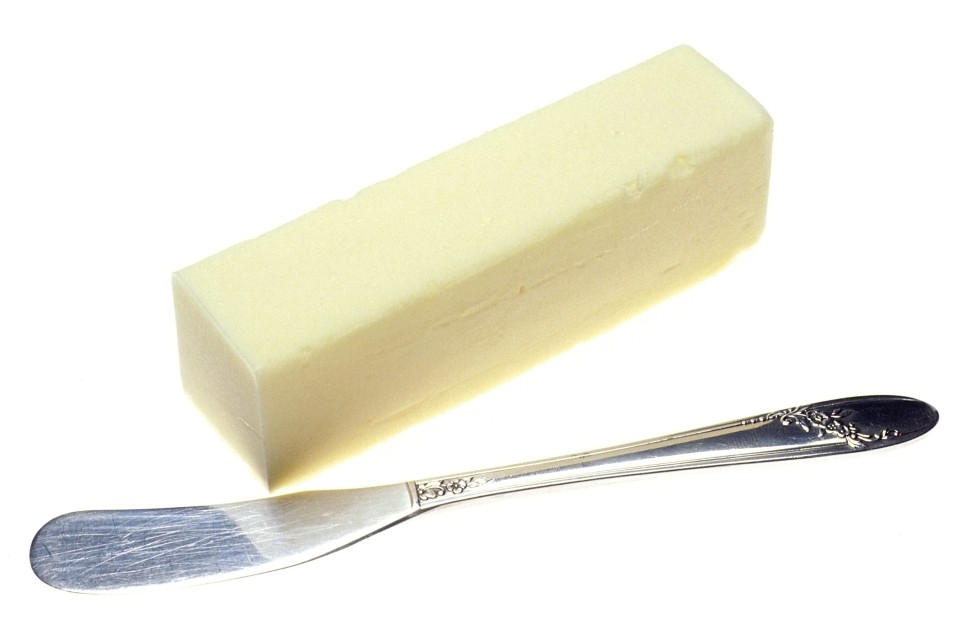
The shortening should always be very cold butter or frozen commercial lard . I prefer lard, partly because it makes a more tender crust and partly because it has only 40% as much cholesterol as butter, but either is fine. Lard is trickier to handle, so we’re going to start by making a butter crust.
Ready? Let’s make pie crust.
We’re going to start by making a single butter crust, rolling it flat, and baking it. Don’t worry – your ingredients won’t be wasted. You’ll still end up with something delicious to eat.
To make a single crust, you will need:
A perfectly clean baking sheet and rolling pin are also needed, and if you have a silicone mat or baking parchment, line your baking sheet with them.
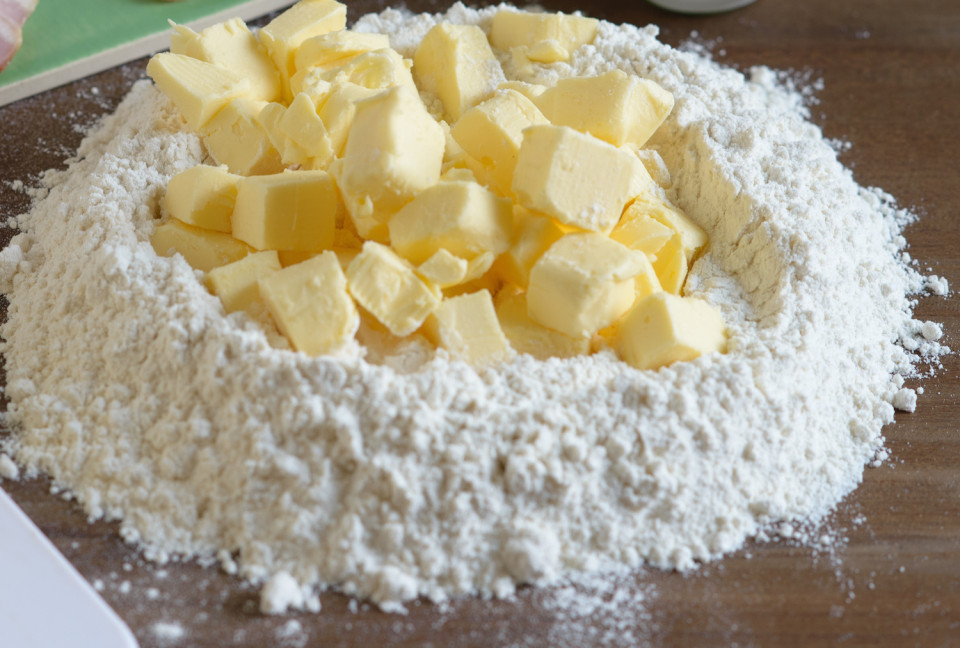
Begin by combining the flour and salt in a bowl. The next and most important step is cutting the butter into the flour. I recommend not doing this in a food processor, which cuts the butter into pieces that are too small to make flaky pockets, even if you pulse carefully. I also think the blades pulverize and toughen the flour.
Unwrapping the stick of butter and, using a long, sharp knife, cut it in half the long way. Then cut each half in half the long way. Turn the stick to its uncut side and repeat the process. Now slice the butter into butter pats. Each pat will consist of 16 little cubes. Separate them into the flour and toss lightly to thoroughly coat each cube with flour.
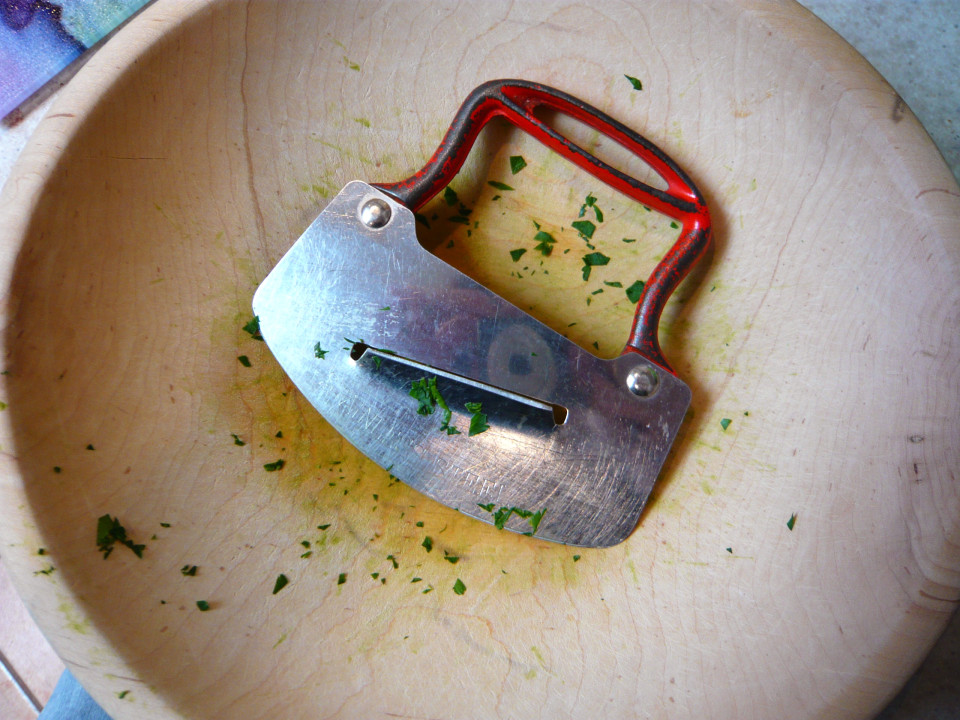
Now you’re ready to cut the butter into the flour. Our grandmothers used a pastry blender or two knives, holding a sharp knife in each hand. We have something much better available today –a single-handled mezzaluna. Ideally, the bowl should be only slightly larger than the mezzaluna, so you aren’t chasing bits of butter around a huge bowl. Using a simple rapid up and down chopping motion, cut the butter into flour-coated bits the size of small peas.
At this point, the butter should still be quite cold. If it isn’t, pop the bowl into the refrigerator for a few minutes. There are different theories floating around about if and when to chill pie crust. Many recipes have you mix the entire crust, gather it into a ball, wrap in plastic wrap, chill thoroughly, then roll out. This is the hard way – hard on you and hard on the crust. A chilled ball of dough is extremely firm. It takes a lot of pressure to flatten it out, and the dough is likely to split, or be so hard you end up bashing it with the rolling pin to get it to flatten. This isn’t necessary. Now, between cutting in the butter and adding ice water, is a much better time to chill, but if the butter is still cold and firm, chilling isn’t even necessary.
Now you are going to add 2 to 4 tablespoons of ice water. Add 2 tablespoons and mix into the flour-butter mixture with a fork. You want end up with dough that is crumbly and shaggy. When you can pinch the crumbs and they stick together, you’ve got it. Two tablespoons will not do this, so add another tablespoon of water and, if needed, one more. Sometimes, depending on the flour and the humidity level in the kitchen, I even have to add a bit more after that.
Now you’re ready to roll out, so set your oven to 325 to 350 degrees. You can roll out on a clean counter, a pastry cloth, or between two sheets of parchment. If you’re nervous about handling the dough, parchment might be the way to go. Whatever you roll out on, it should be well floured, as should your hands and your rolling pin.
Turn the dough out onto the floured surface, crumbs and all. Press the loose bits into the ball and turn it over a few times so all the bits are gathered up and the dough gets a dusting of flour as well.
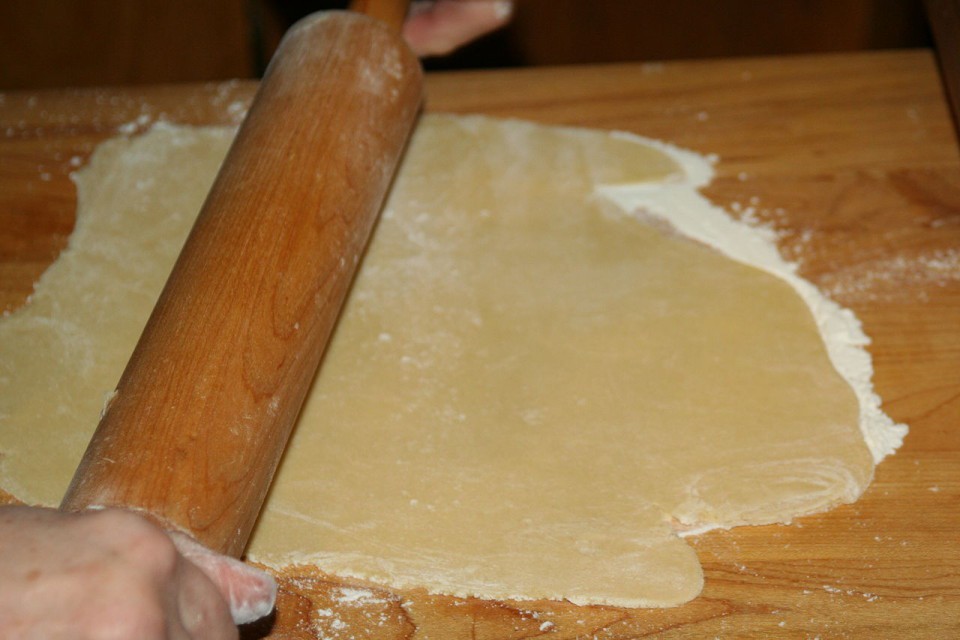
Now roll out. You should turn the pie crust over a few times and re-dust, both to give the crust equal treatment on both sides and to make sure it isn’t sticking to whatever you’re rolling it on. If you’re using parchment, periodically peel the parchment away and sprinkle with more flour as needed.
Traditionally, pie crust is rolled to about 3/8 of an inch thick. However, there are some passionate advocates out there for thicker crust, so it’s really a matter of taste. The important thing is that the whole crust be the same thickness, so it bakes evenly.
Put the crust on the baking sheet and bake. All ovens are different and how quickly it bakes depends on thickness. You want pale golden brown but no tan. Check after 15 minutes, and keep watch until it’s done.
When your crust has cooled, there are many ways to enjoy it. My mother always flat baked scraps of leftover dough, which my father sprinkled with salt and ate with relish. You can also break off pieces of crust and spread them with jam. Raspberry and apricot are especially good, as is lemon curd.
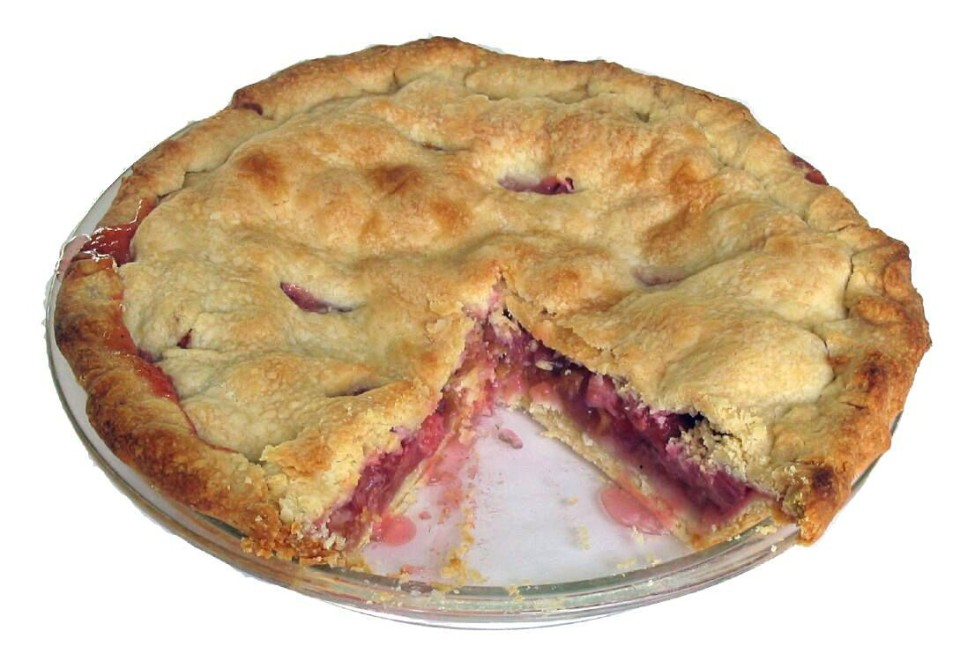
Now that you can make perfect crust, all you need to do is add a pie pan. You can bake the crust blind (without anything in it) and make a cream filling for it like banana, coconut or chocolate, or you can divide the dough in half and make one small double crust pie (one crust to line the pan and one for the top). The recipe above is also good for a small double-crust pot pie or two top crust only pot pies.
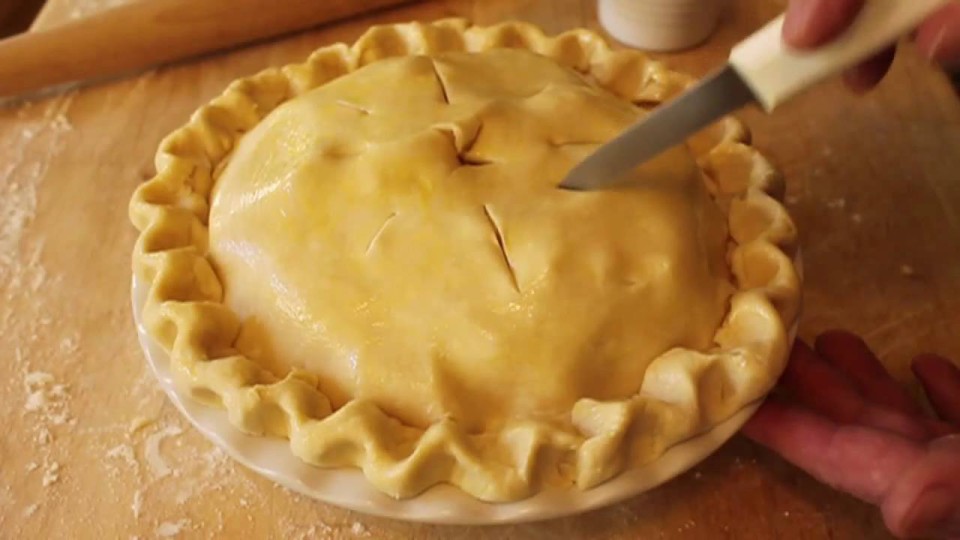
To make a full-sized double crust pie, you can double our recipe and make both crusts at once, or make the bottom, get it in the pan, then put it in a loose plastic grocery bag and refrigerate while you make the filling. When the filling is ready to go, make and roll out the top crust and assemble the pie. I do this two step process if I’m making a fruit filling that takes a while to put together, like my favorite apple pie. Always remember to cut vents in the top crust to let the steam escape.
If you want to go beyond butter and try your hand at lard crusts, a good way to start is by making crusts using half butter and half lard. It will give you an idea of lard’s different properties. Always work with lard from the freezer – it’s much softer than butter, and warms too quickly if used from the fridge. Because it’s softer, it’s harder to work with but easier to patch if you need to. Once you get a feel for making crust. you can leave butter behind and make all-lard crusts without much trouble.
By taking it one step at a time, you’ll soon be wowing friends with homemade pies – and it’ll be a big wow, because pie crust is at it’s best when eaten within 12 hours of being made – and fresh homemade pie is something money literally cannot buy.
I’m a full-time writer and food enthusiast. I love writing about food’s role in history and culture, and have found that cooking and fooling around in the kitchen is a perfect break from my work.
Give me a blizzardy day when I can make bread and soup and watch the snow pile up and I’m happy.