If you’re not hip to Greek yogurt, you’ve probably been living under a rock or avoiding the dairy aisle at the grocery store altogether. Greek yogurt is hot right now, and not just with sorority girls or women after their pilates workout. In 2007 it accounted for only 1% of yogurt sales; last year, it accounted for a whopping 44%. And the best part is, you can now make your own Greek yogurt at home. It’s simple, fun, and a great way to put your own spin on this extra creamy yogurt that keeps everyone coming back for an extra spoonful.
Food nerds, listen up! What sets Greek yogurt apart from regular yogurt is the straining process it undergoes to develop its flavor and texture. Straining yogurt removes whey, a watery substance that comes from milk, and this removal is the key to making Greek yogurt. Whey is a watery milk byproduct, and its acidity is what helps create the tartness of regular yogurt. So, removing the whey makes the yogurt thicker, creamier and also sweeter. It also makes the final yogurt product much more concentrated, which is why Greek yogurt has about 2 times more protein per serving than regular yogurt. Simply put: less whey = increased thickness, decreased tartness, and double protein.
So, if you want to join the frenzy, or if you’re already a fan looking for more ways to help Greek yogurt take over the world, read below for our recipe to make Greek yogurt from the comfort of your own home.
Ingredients
Steps
1. In a pot, bring the milk to a almost a boil (about 3 minutes if room temperature, or 5-7 if cold) over medium-high heat. When bubbles appear around the edges, turn off the stove, and cover the pot, and set it aside.
2. Allow the milk to cool for between 30 – 45 mins. You want the milk to be around 110 degrees at its lowest cooling point. If you have a food thermometer, you can measure the temperature that way. However, if you can keep your fingers in the milk for 10 seconds without the burning, this will also indicate the milk is the right temperature. Additionally, around this time you will want to preheat your oven to its “warm” setting, or around 110 degrees.
3. Add your live culture yogurt to the milk and whisk the mixture together.
4. Cover the mixture, and put it in the oven. Do not let the oven temperature rise above 110 degrees. Leave the mixture in the oven for 5-10 hours, until it begins to congeal. Check the yogurt periodically, and use the finger trick to check its temperature. When the yogurt has congealed (when you move the pot side-to-side, the mixture will move as a unit), remove it from the oven.
5. Tie your cheesecloth or other straining implement tightly over a bowl, making sure that there are several inches of space between the bottom of the cheesecloth and the bowl. Pour the yogurt mixture over the top of the cheesecloth, put it in the refrigerator, and let it strain overnight. The liquid whey will be at the bottom of the bowl in the morning, and feel free to discard this or repurpose it for baking or cooking. What’s left on top of the cheesecloth is your very own Greek yogurt!
Click here for the Greek Yogurt Recipe and all our other Recipes.
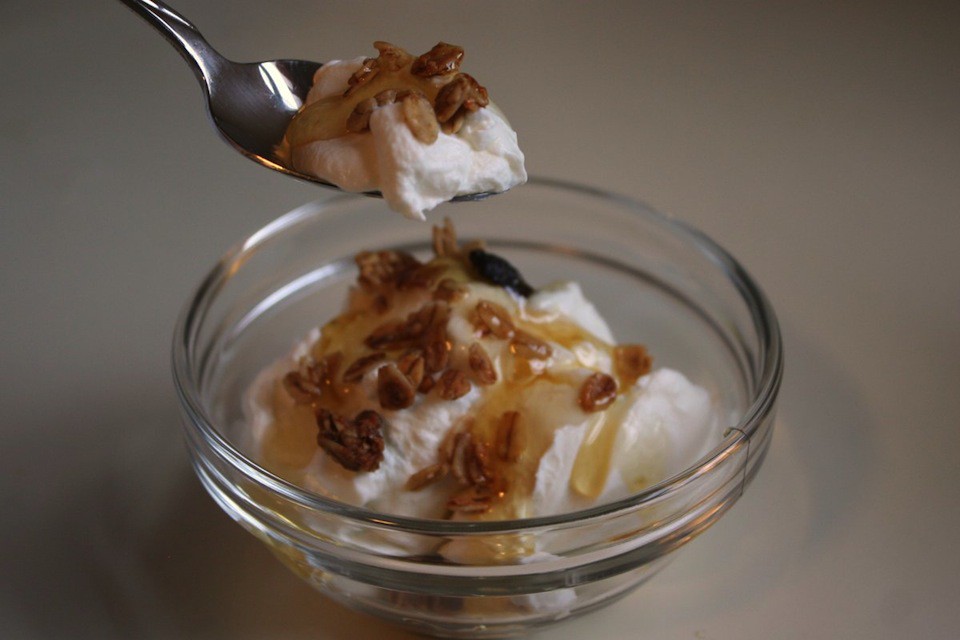
Feel free to experiment with adding fruit, granola, nuts, raisins or any other toppings once you’ve made your Greek yogurt. Or, if you’re a purist, just enjoy the pure flavor of your homemade yogurt. Welcome to the craze.
David is the resident nerd around these parts. Running a popular tech blog (TheUnlockr.com) for the past 6 years, he’s taken his over-analytical mind and made the transition to food.